Get Reviews Account Information
Reviews Dashboard Users
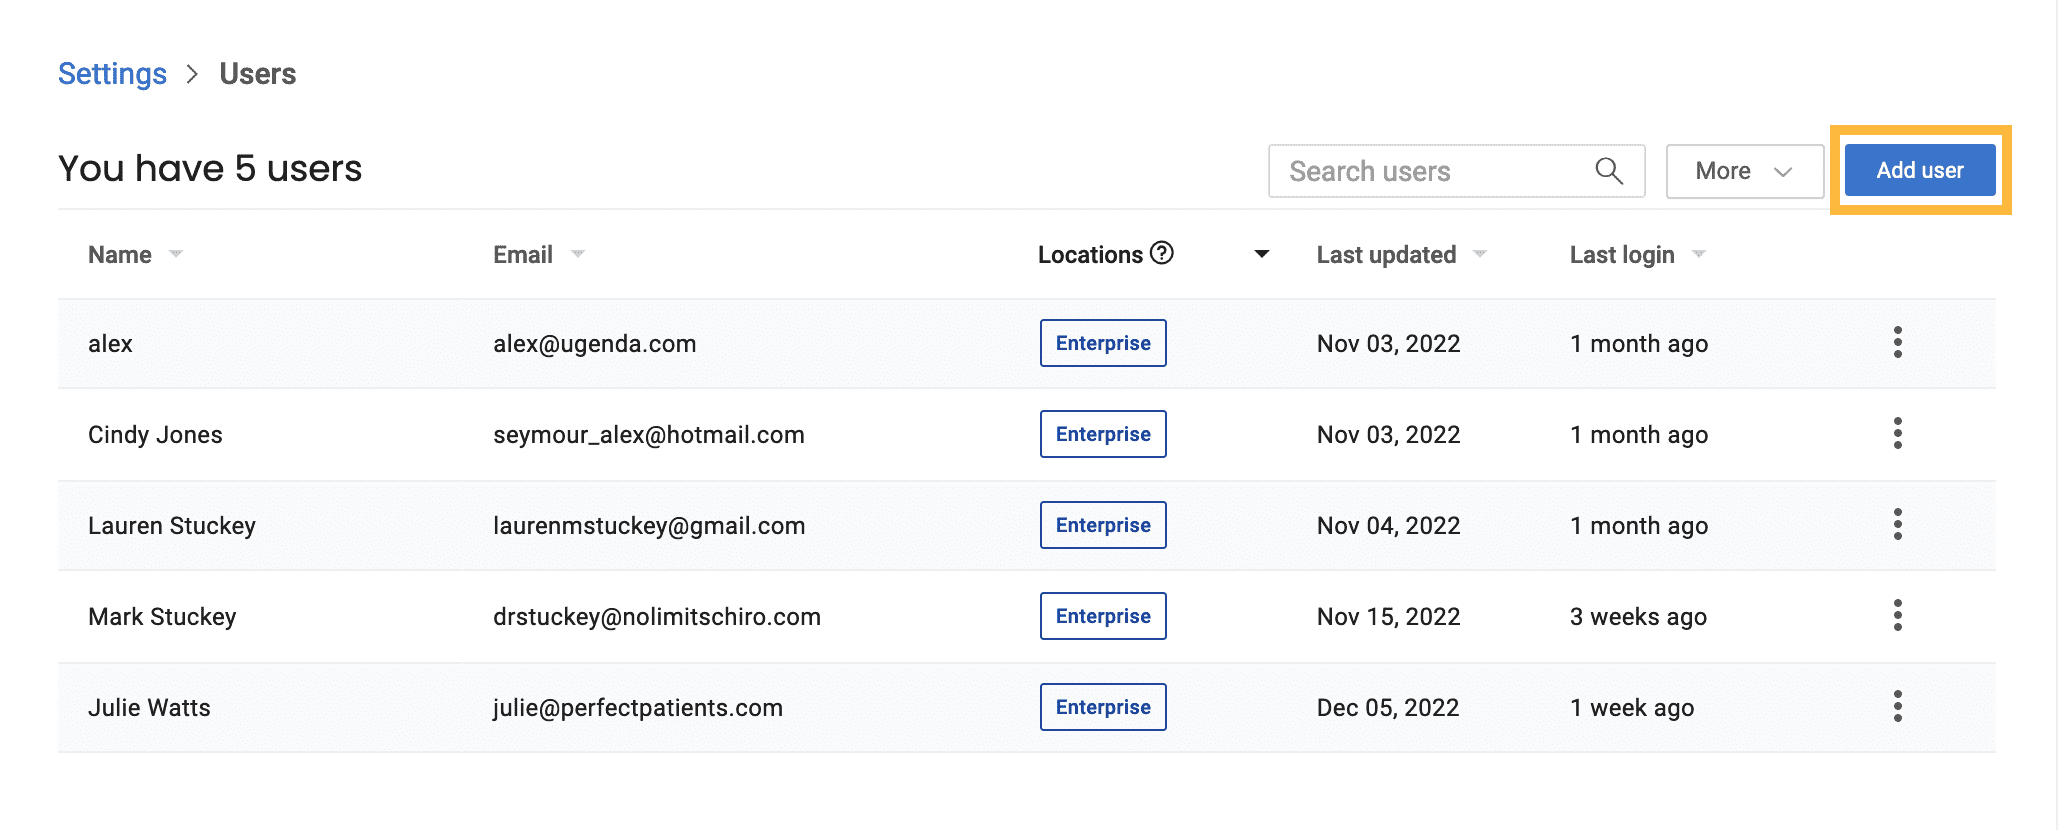
Any users from your website dashboard who click into Get Reviews will automatically be added as a Get Reviews user at the ‘Administrator’ level.
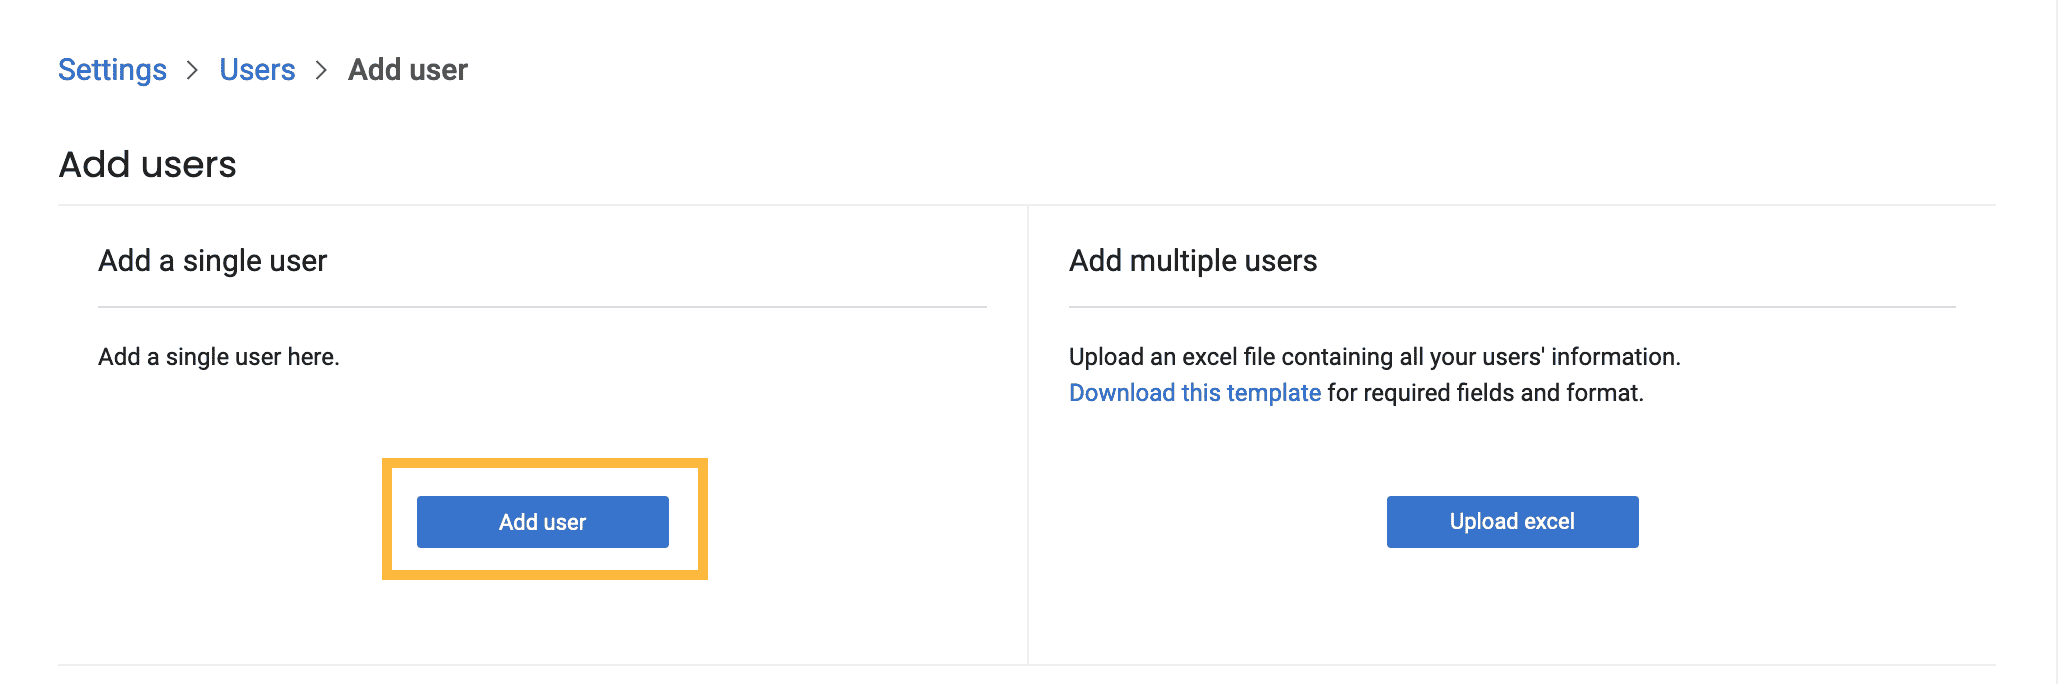
Additional users who can only access Get Reviews (but not your website dashboard) can be created manually. For example, you might add someone who is helping you with review campaigns, but you don’t want to give them full access to your website dashboard.
Our team will help you add a new user to your account. Simply contact us with your request. Here’s what we’ll need to know to add the user:
- First and last name
- Email address
- Phone number
- Guest or administrative access level?
Administrator Users: Has full access to the account, except billing information. (We do not store any of your billing information in your Reviews dashboard.)
Guest Users: Can view the account only. They cannot reply to reviews or messages, or access settings.

You have the option of adding employees to your Get Reviews account if you’d like to evaluate employee performance based on the number of review requests sent or customer feedback received.
If you don’t care to track those things, but still want your employees in the system so that they can log in, view the Inbox, have Inbox conversations assigned to them, and do all other tasks possible within Get Reviews, then you only need to add them as Users, as listed in the directions above. The following steps are only necessary if you want to track employee performance as it relates to your reviews.
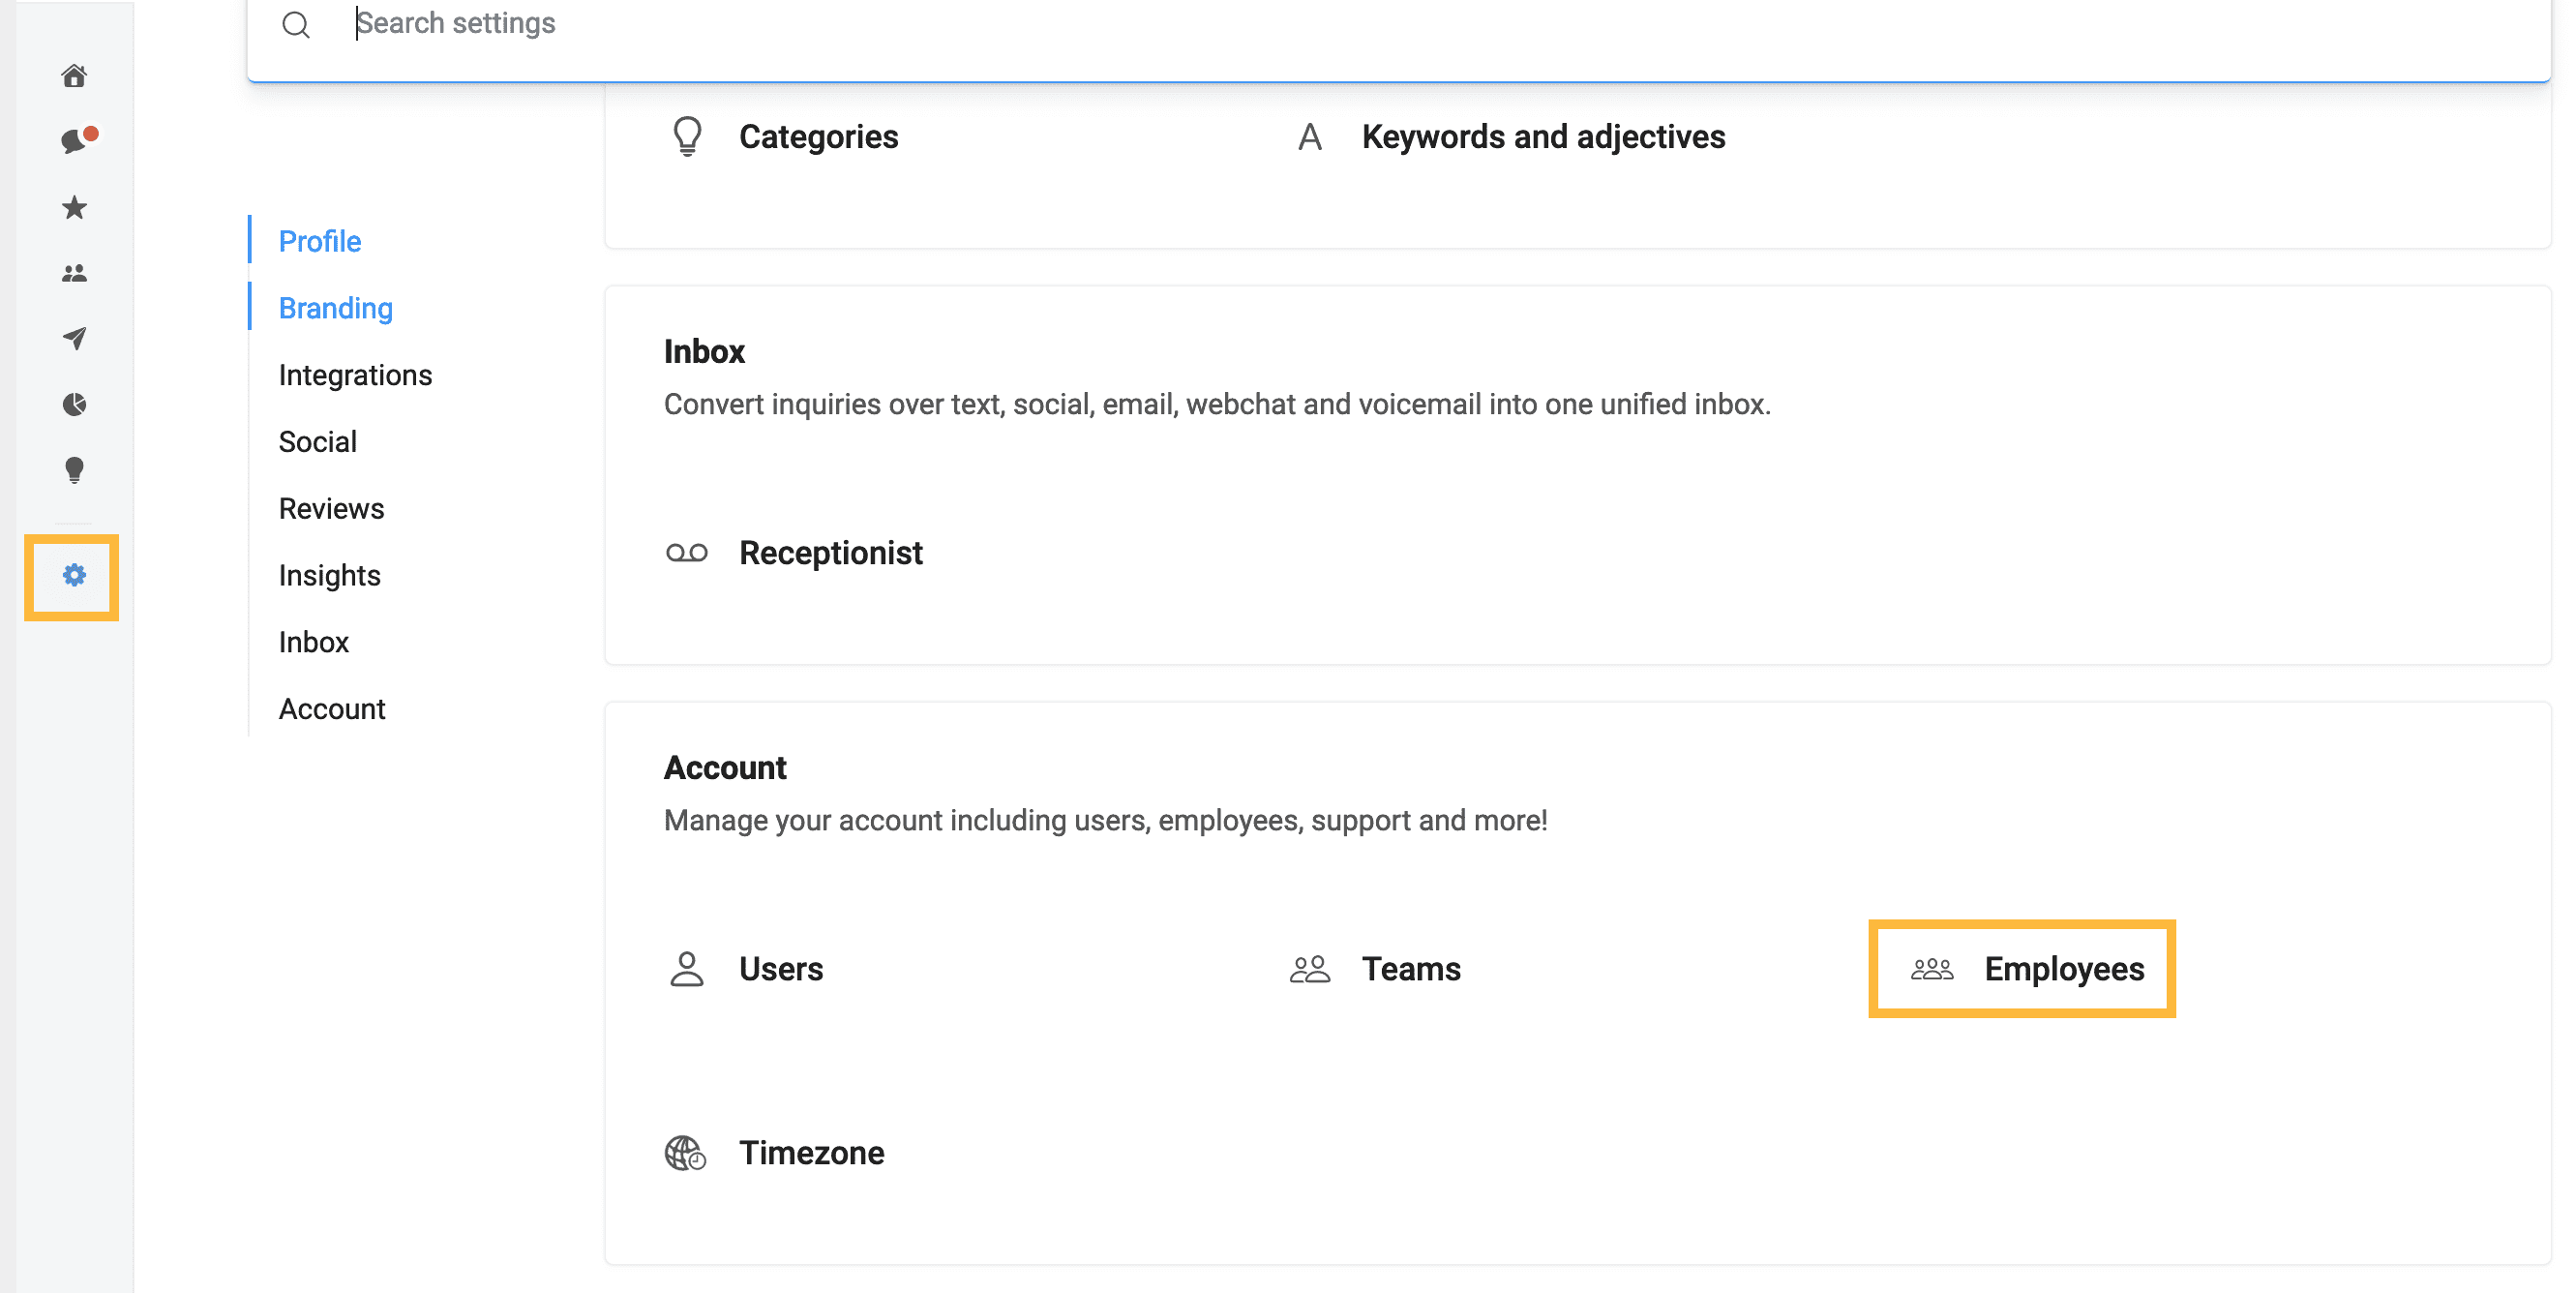
- In your Reviews Dashboard, click on ‘Settings’ (the gear icon), then scroll down to ‘Account’ and click ‘Employees’.
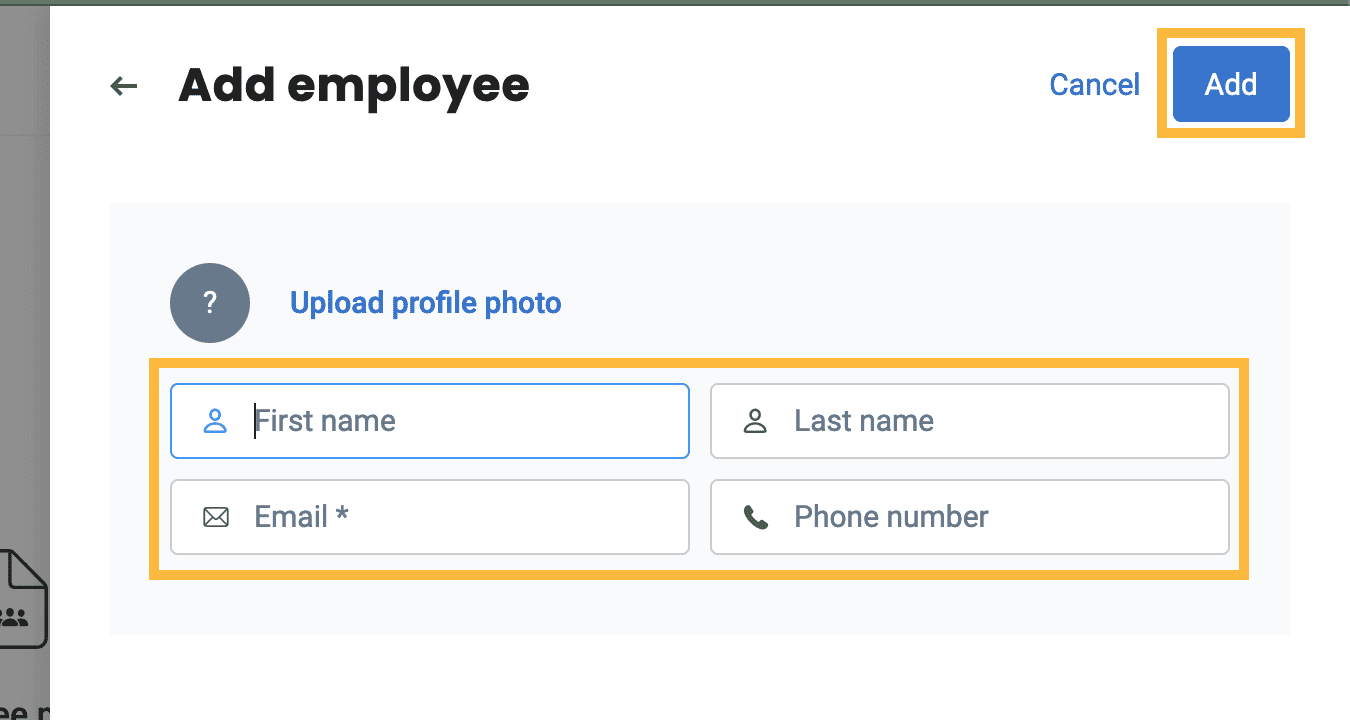
- Click the blue ‘Add employee’ button.
- Add your employee’s name and contact info, then click ‘Add’.
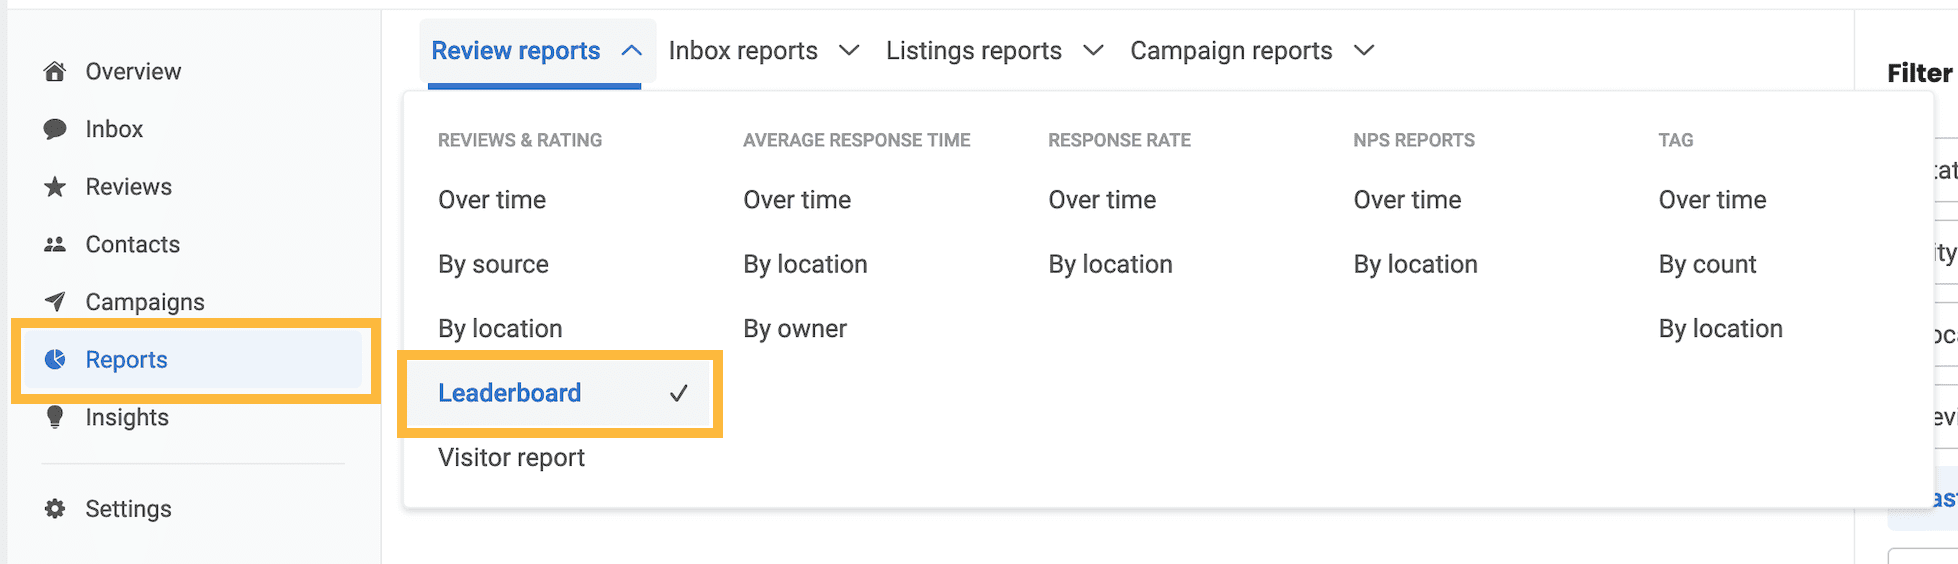
To check employee performance, head to ‘Reports’. Under Review Reports, click on ‘Leaderboard’.
Note: a person does not have to be a user on your account to be added as an Employee.
Users are people who can actually log in and interact with the account.
Employees are people whose performance you want to track in regards to the number of review requests they’ve sent or received.
The two are mutually exclusive. So you can add someone as just a User, or just an Employee, or both. The manner in which you add them just depends on whether or not you want to track performance and how you want them to be able to interact with your account.
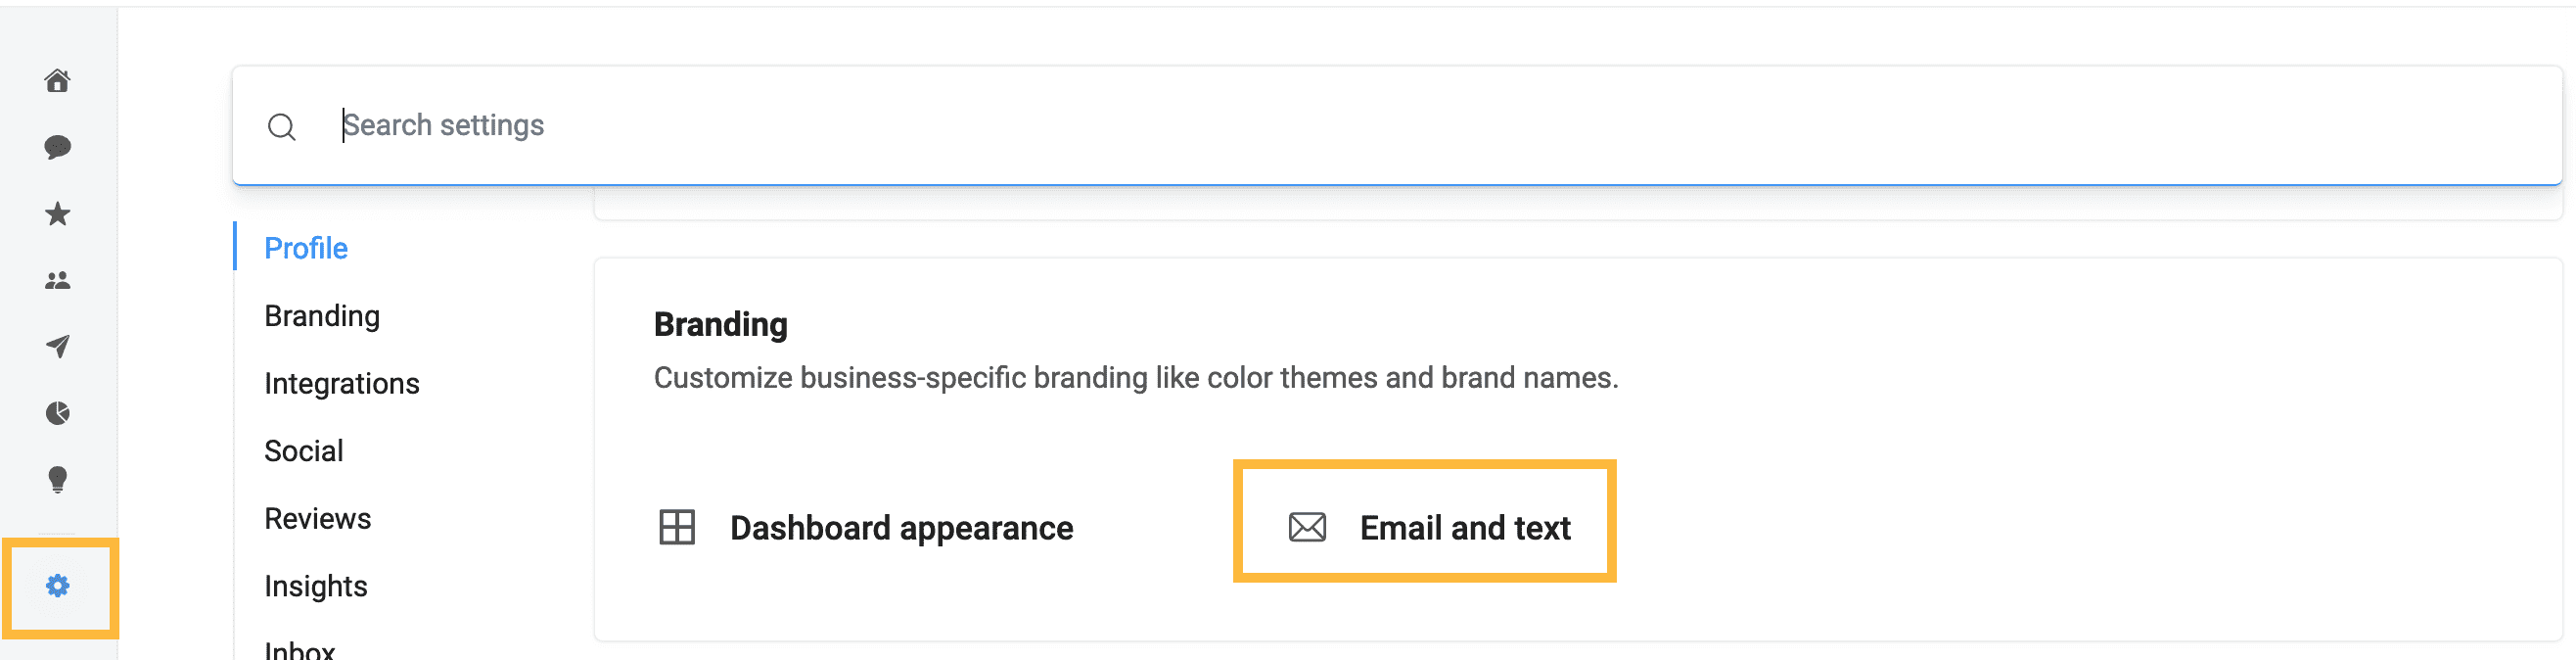
- In your Reviews Dashboard, click on ‘Settings’ (the gear icon), then scroll down to ‘Branding’ and click ‘Email and Text’.
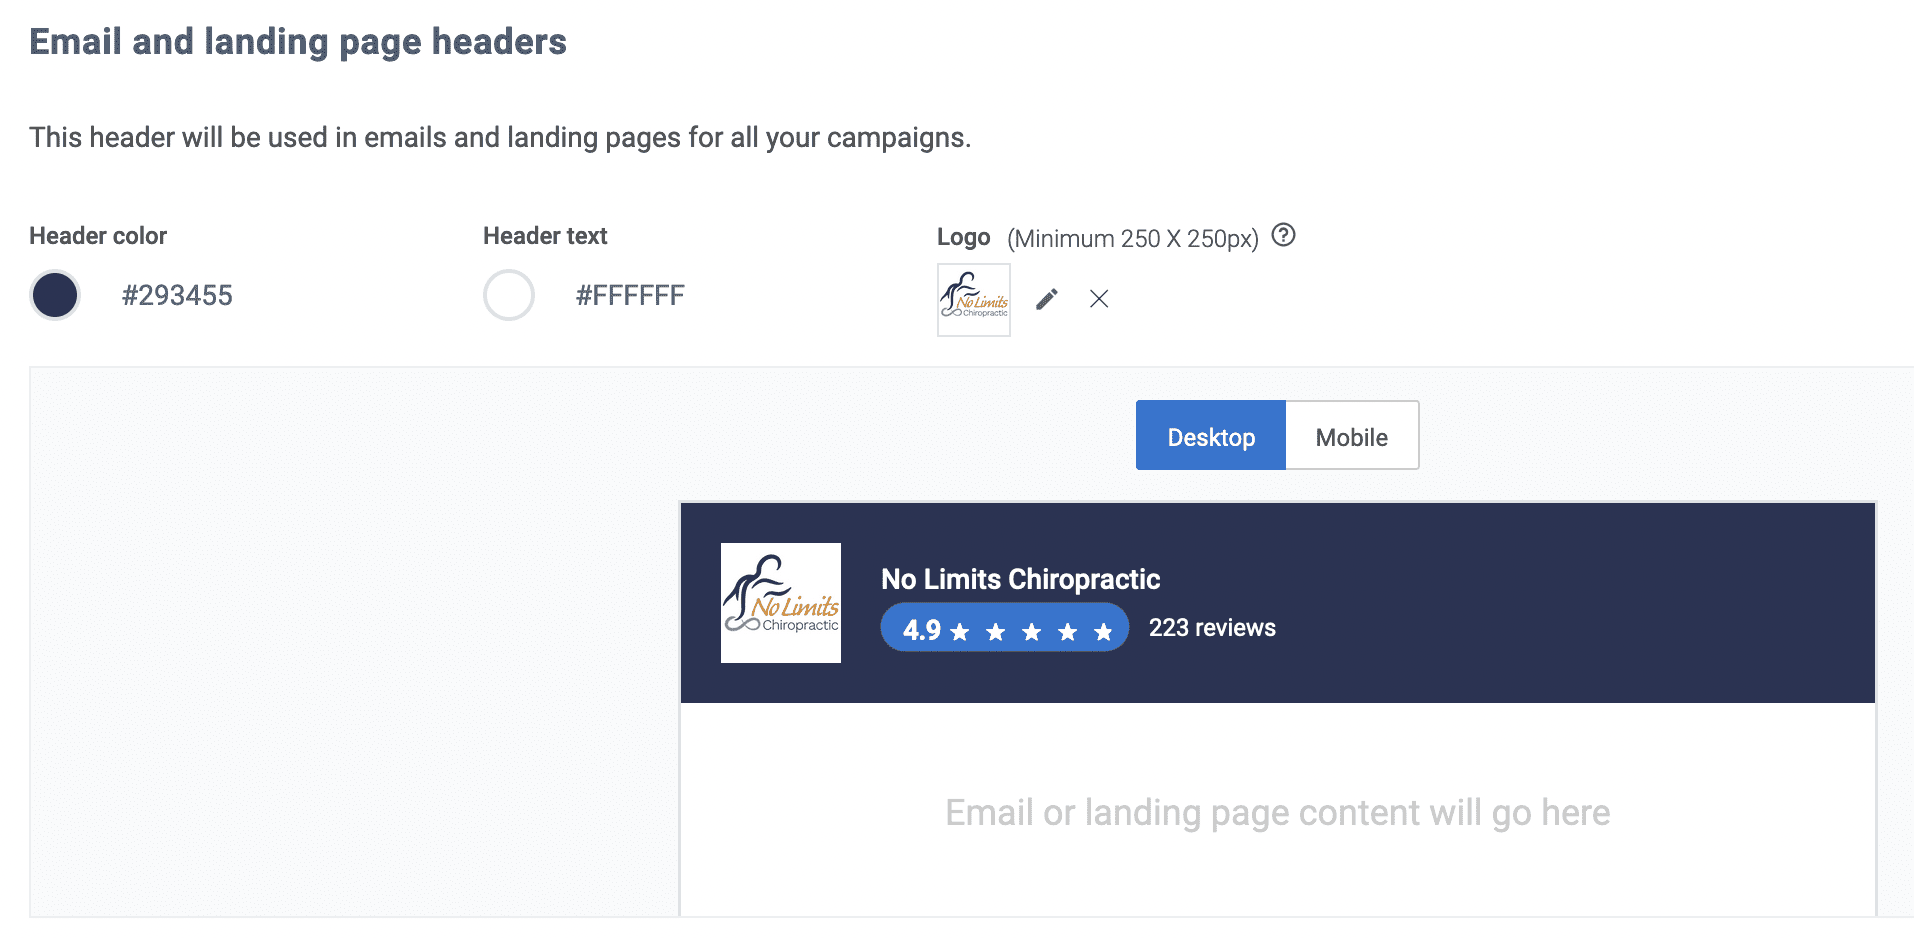
- At the top of the page, you’ll have the option to alter the header color and logo image for your emails and review landing pages. (This is referring to the page where someone is sent when they click on your text asking them to leave a review.)
- Further down the page, you have the option to change or add the color or image that will be sent along with the message in your text campaigns. Notice the four vertically stacked colored dots next to each option. Clicking these will change the color or image of the selected design. You also have the option to upload your own custom image.
- When you’re happy with your selections, be sure to click ‘Save’.