A Complete Guide for Website Photography
One of the most important aspects of your website design is photography. YOU are the product. Invest in high quality photos of you and your team. It is an integral part of converting website visitors into new patients. If you do not yet have photos to use, please start thinking about a plan to have some photos taken and our team would be happy to discuss over the phone.
Whether you are getting your photos done on your own or you are having a photoshoot with our photography partner, we want to provide you with guidelines to get some great photos… as we have worked with hundreds of professional practices for over a decade.
Since a member of the Perfect Patients team cannot be there with you, here are some suggestions that we find to help make a successful shoot.
Shot Checklist
SHOT LISTYou want to capture your office so the photos showcase what it is that you are your staff does on a daily basis. Here is checklist of shots that we recommend:
Head shot of main doctor(s)
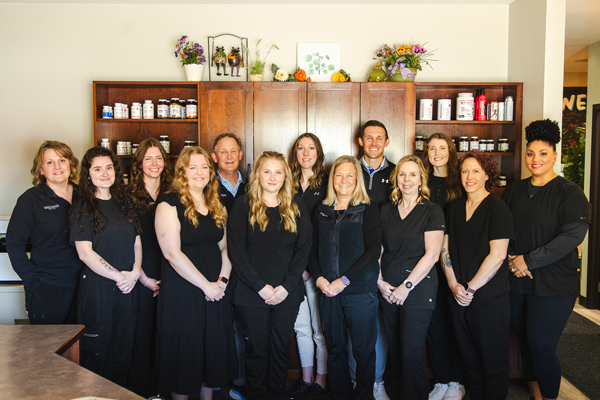
Staff headshots and/or group team photo
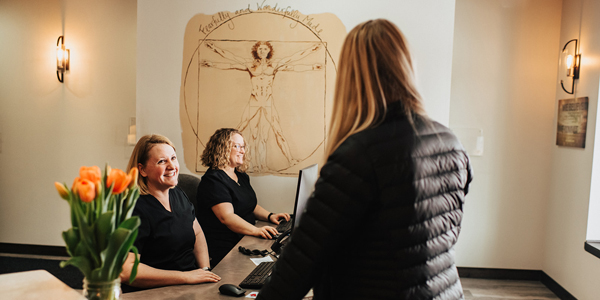
Welcoming patients at the front desk and/or wide shots of the front desk/lobby
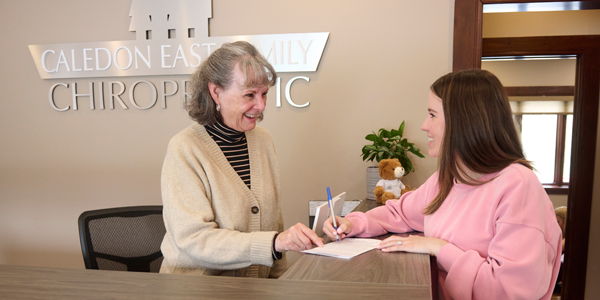
Patient completing/reviewing paperwork
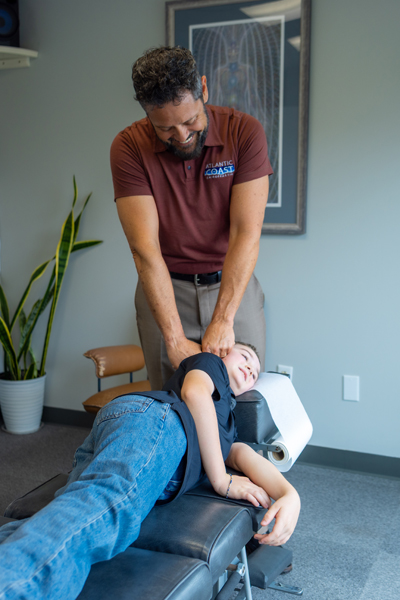
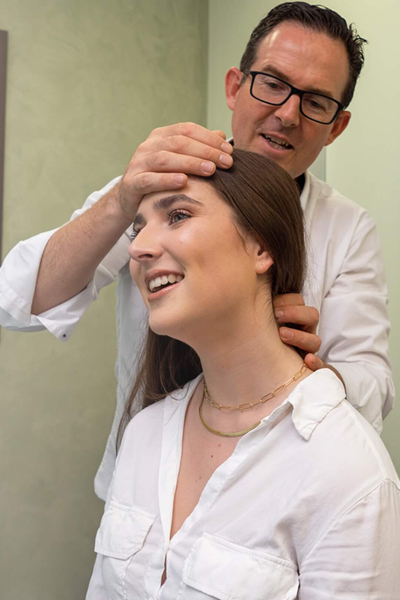
Patients being adjusted by doctor
Close up of doctor’s hands while they are adjusting
Any special areas of the practice (i.e. office iPads or other technology, children in play area, special massage chairs for guests, featured walls, etc).
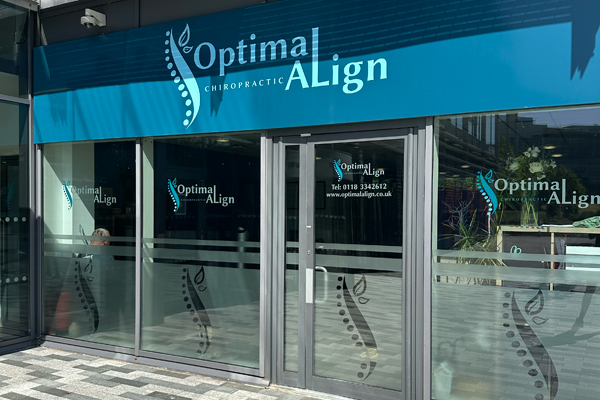
Exterior office shots of the practice and/or signage
Be sure to remember: It is far more important to get people in action in any given shot rather than just an empty room. Please be sure to coordinate staff/patients to come in during the shoot if possible. Please also make sure those patients are the ages you want to showcase on your website.
Tips & Tricks for Having a Successful Photoshoot
When you are planning your session, there are many things you will want to think about so you can be prepared on the day of the shoot. You want to have everything ready to go so you have as much time as possible to get all the shots you need. Here is a check list of things to remember:
Before the Session: Download and print a sufficient number of model releases. You will want to have a release form from everyone who appears on camera, other than the owner of the practice.
Confirm ahead of time that there will be an adequate number of “extras” to play the role of being a patient. Optimally these individuals should represent the demographics of the doctor’s ideal patient. Without people, there is little energy and a glaring lack of reassurance that prospective patients desire when evaluating the practice online.
Take time to prepare your staff for the photo shoot – discuss what should be worn on the day of, etc.
Coordinate staff and patients for the shot list above.
Day of the Shoot:
Before the photographer arrives that day, prepare your location and tidy up! Items will not be photoshopped out so you want all to look clean.
Make sure the countertops and desks do not have clutter.
Move trash cans out of sight.
Move any signs with informational text (like office policies) on them off the desk/counter area.
Remind all staff, doctors and any patients who will be coming about the shoot time.
Double check your weather forecast to prepare for any exterior shots if needed.
Have anyone appearing in any of the photos complete the Appearance Release Form.
During Photo Shoot:
As you work through all of the shots with the photographer, try to imagine what the images will communicate to someone who has never been to the practice, who may be wary and need reassurance. Here are some general guidelines:
As much as possible, make sure every shot has a person in it.
If a patient is included in a photo, their expression should be positive – avoid shots where a patient looks uncomfortable.
When there are two people in a shot together, they should doing something. If necessary, layer one behind the other to compress the space between them, adding energy to the shot.
When shooting individual team portraits, make sure the camera is slightly above the person’s eyes so they are looking up into the camera.
When shooting individuals or team shots, be careful not to amputate arms or shoulders as it limits how our designers are able to use the shot in the website design.
When shooting an entire office team, many people don’t know what to do with their hands! While it often feels unnatural, simply allowing the hands to hang naturally at the side is best.
When shooting exteriors they should never be straight on, but from an angle.
Be mindful of the background — reflections, electrical outlets, wires, plants growing out of people’s heads, etc. Avoid clutter. This can become distracting and communicate a sense of disorganization when caught in two dimensions. The key is to walk the line between “busy” and “sterile.”
When in doubt, go wide — we’ll crop in later. Oftentimes, we use wide images in our header designs, so having some options in a wide aspect ratio is helpful.
Finally, remember people are more important than equipment!
Good Photo Examples

Adjusting

Team Photo

Individual Photos


Outside of Clinic