Webchat from Get Reviews
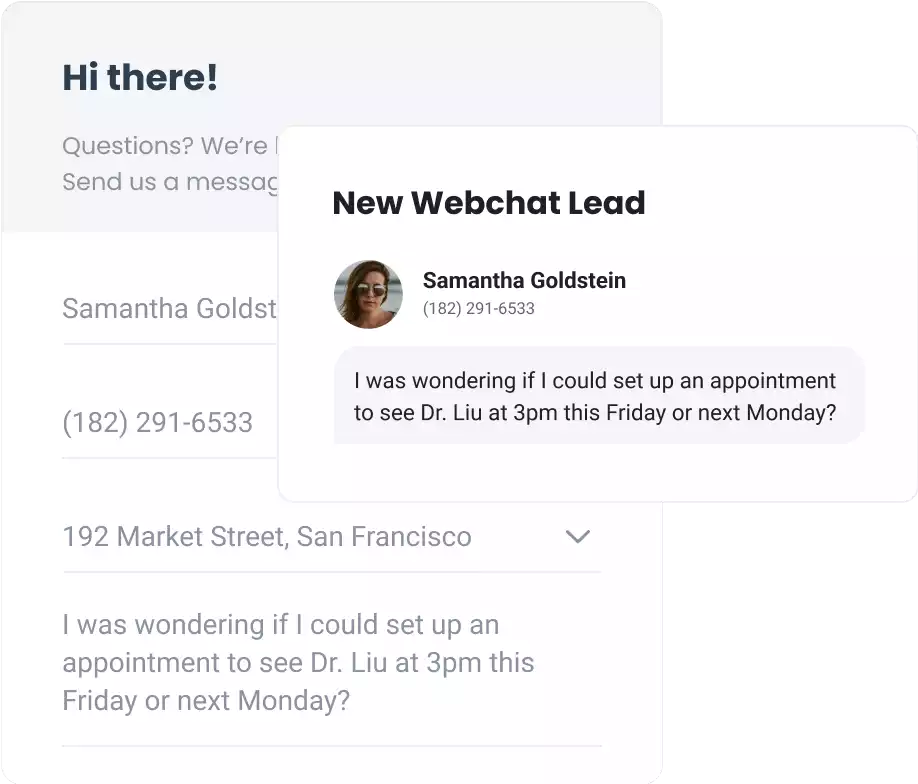 The Webchat option from Get Reviews gives you the ability to convert website visitors into prospective new patients. With the Webchat widget, you can respond to your website visitors via your Get Reviews Inbox.
With Webchat, you can:
- Capture leads: Get more patient leads from your website and save them as new contacts within your Get Reviews dashboard.
- Work as a team: Increase team productivity by assigning conversations to another team member, so you can get your visitors the answers they need right away.
- Respond faster: With Webchat’s push notifications, you can respond to questions and requests even more efficiently. You can also respond to chat messages via text if the visitor leaves your website.
- Customize everything: Your Webchat widget is fully customizable, so your branding will show through every step of the way. You can also add a personal touch to your chat window and let visitors know who they’ll be texting with.
- Respond automatically: Chat in real-time with customers while they are on your website using Livechat. But when you are away you can let Robin, Get Review’s AI-enabled Chatbot, automatically respond to frequently asked questions about your business.
Using Live Chat
When your staff is at their computers, you can activate live chat on your website by simply signing into your Get Reviews dashboard. All incoming messages will come straight into the Inbox with an alert so that you can respond right away.
Setting up desktop notifications
If you have multiple windows open on your computer, it’s possible you could have your Inbox buried and not see an incoming chat. If you’d like, you can enable desktop notifications to ensure you never miss an incoming chat.
- From inside your Get Reviews dashboard, click your initials in the top right corner.
- From the dropdown menu that appears, select ‘Notifications’.
- Click the blue ‘Edit your notifications’ button in the top right corner, select your business location, and then click ‘Edit notifications’ again.
- Scroll down to the “Browser Notifications” section and click the linked text for “Enable browser notifications”.
- You’ll see a pop up on your browser asking if you want to allow notifications. Click ‘Allow’.
- Click the blue ‘Save’ button in the bottom right corner.
- Double check your computer’s settings to be sure you don’t have them set to block desktop notifications. These notifications will show up in the top right corner of your desktop, not in the browser window itself, to ensure you see them even if your browser window is covered or minimized.
Responding to incoming chats
Incoming chats from your website will show up in your Inbox, and will be marked as having originated from webchat. When someone begins a chat, they’re required to give their name and cell phone number so that you’ll already have their contact information saved in your Get Reviews dashboard.
You can respond to chats by typing into the text box at the bottom of the conversation thread. If the website visitor leaves your site, you can still respond from the Inbox and your message will be sent to their cell phone as a text message.
Using Chatbot
When your staff isn’t available to respond to incoming chats, our AI-driven chatbot “Robin” can intelligently respond to their queries. If Robin doesn’t know the answer, she’ll let them know that you’ll respond at your earliest convenience.
All of Robin’s chats will be synced to your Get Reviews Inbox so you can see the full conversation and pick up right where she left off.
Where does the Chatbot get its answers?
The Chatbot Robin is an AI, which will refer to the business profile information and the FAQs to answer questions. Even if the question asked by the visitor doesn’t exactly match the wording of the questions mentioned in the FAQs, the Chatbot will answer based on similar/related FAQs or profile information.
Activating or De-activating Chatbot
When we first add the webchat to your website, the chatbot will be activated by default. If you want to change your settings in the future, you can contact our team or follow these steps to do it yourself:
- From inside your Get Reviews dashboard, click ‘Settings’ in the left sidebar.
- Scroll down to the ‘Inbox’ section and click ‘Webchat’.

- In the tab bar below the title, select ‘Chatbot’.
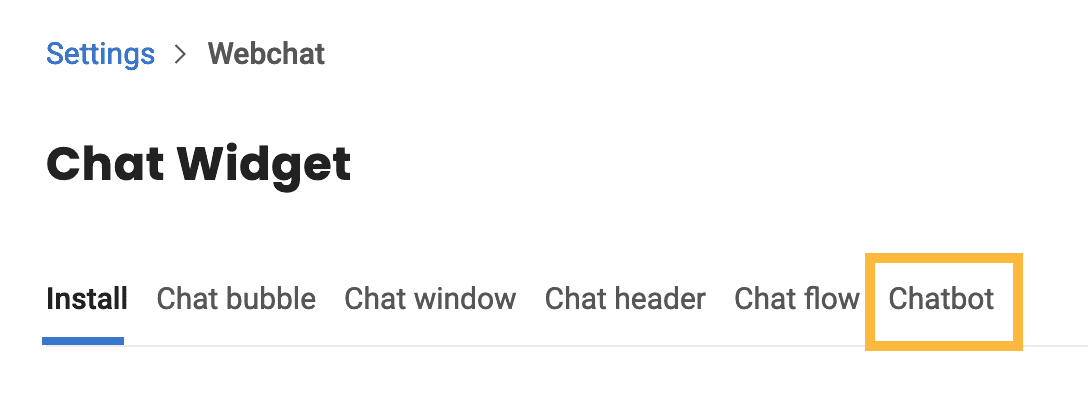
- On top of the next screen, toggle Robin on or off according to your preferences.

- Click the blue ‘Save’ button in the top right corner.
Automatic chatbot responses
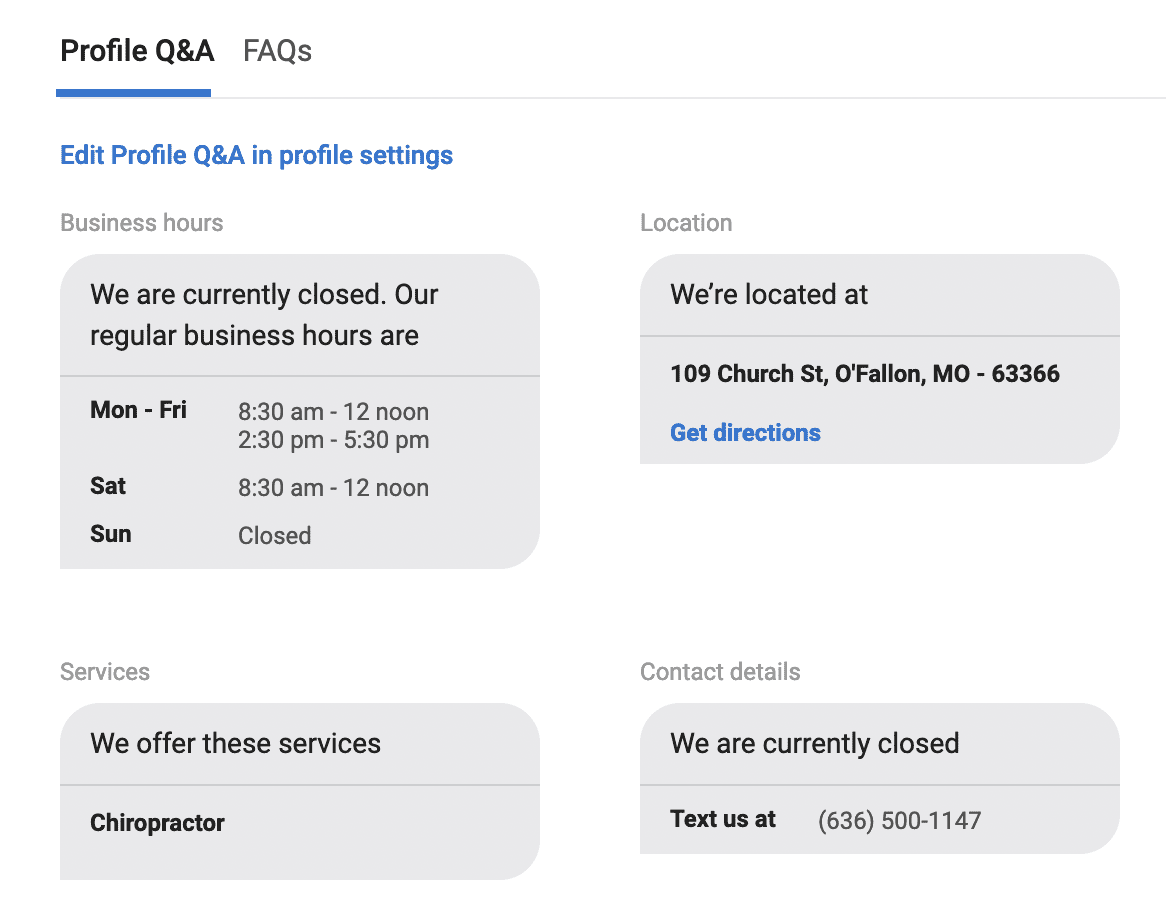
The chatbot will automatically know answers to some user questions based on basic information within your Get Reviews business profile. This includes things like:
- Business hours
- Location
- Services
- Contact details
Viewing your automatic chatbot responses
- From inside your Get Reviews dashboard, click ‘Settings’ in the left sidebar.
- Scroll down to the ‘Inbox’ section and click ‘Webchat’.

- In the tab bar below the title, select ‘Chatbot’.

- Scroll down slightly and you’ll see the “Profile Q&A” that are automatically loaded into your chatbot.
Changing your automatic chatbot responses
- Follow steps 1-3 above in “Viewing your automatic chatbot responses.
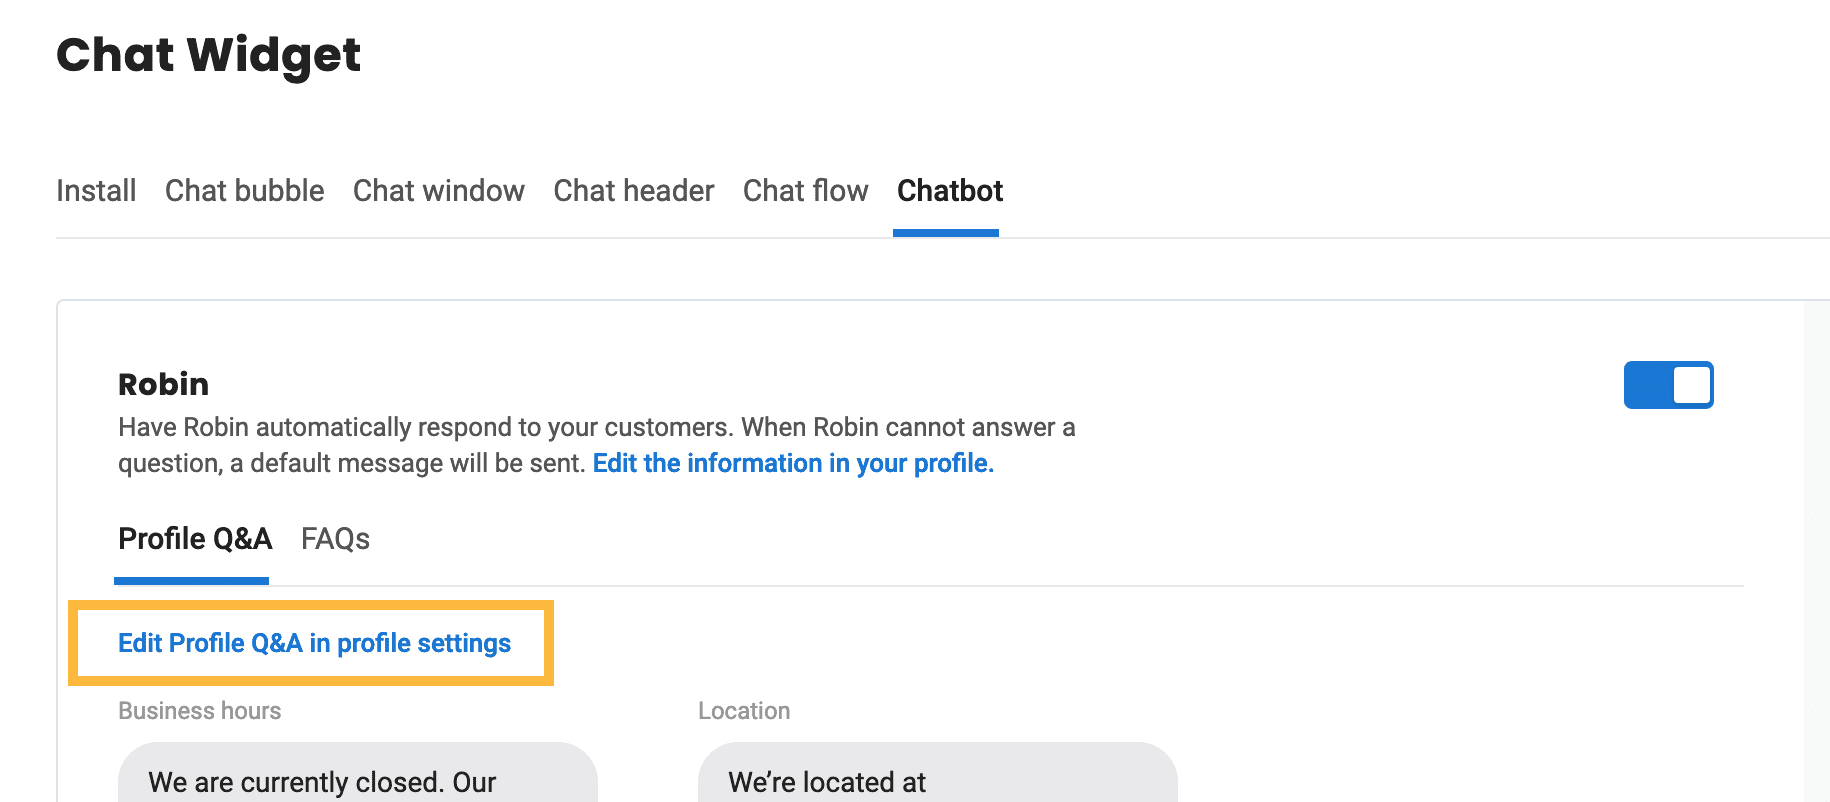
- From this screen, just above the list of automatic responses, click the linked text for ‘Edit Profile Q&A in profile settings’.
- On the next page, click on the location of the business for which you want to edit settings. (If you only have one location, it will be the only one listed.)
- Scroll to find the section with the information you want to edit. Click the pencil icon on the top right corner of the section to make changes, and remember to click ‘Save’ when you’re finished.
PLEASE NOTE: If any basic information about your business has changed, let our team know. We want to make sure all your listings across the web are accurate to avoid a negative impact on your SEO.
Setting up FAQs
Even if the question posed by the visitor varies slightly from how you’ve worded it in your FAQs, the Chatbot will look for a similar question and provide its answer based on that question. You can also add multiple question versions in the FAQ with the same answers. For example, different versions of the same question might be:
“What are your holiday hours?”
“When are you closed for the holidays?”
“Are you open on Christmas Eve?”
- From inside your Get Reviews dashboard, click ‘Settings’ in the left sidebar.
- Scroll down to the ‘Inbox’ section and click ‘FAQs’.

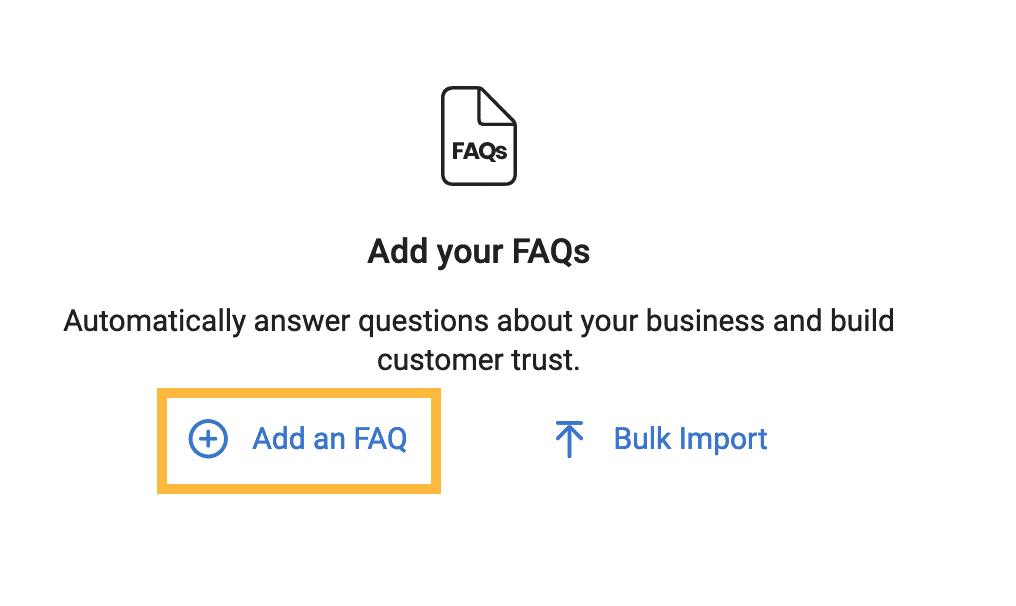
- In the middle of the next screen, click ‘Add an FAQ’.
- In the pop up box, type your question, the answer, and the location(s) it applies to (if applicable); then click the blue ‘Save’ button in the bottom right corner.
- To add additional FAQ’s, click the white ‘Add FAQs’ button in the top right corner.
